
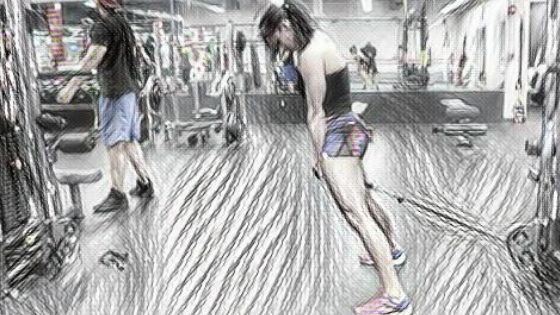
I met up with my friend Paco, a fellow trail runner, at the gym yesterday morning. Paco cames from a background of lifting heavy at the gym and has the upper body to show for it. After our respective workouts, we got together at the juice bar to debate the benefits of various gym exercises specifically for trail running over a healthy smoothie.
What gym exercises should trail runners do? Trail running is an activity that engages multiple muscle groups simultaneously. You need to both drive forward motion and stabilize your posture/balance. Therefore it makes sense to incorporate compound exercises into your gym routine that mimic parts of the running movement.
My friend Paco trains like a weight lifter in the gym. For him, leg extensions, hamstring curls, and leg presses are his go-to exercises for trail running. He does those same three exercises at every gym session, four times a week, month after month. I need a lot more variety in my training to prevent the onset of boredom. So I set about finding the most varied and interesting gym exercises that target my trail running muscles. This is what I found.
Train Like An Athlete in the Gym
It amazes me how many trail runners completely forget that they are athletes when they step into the gym. They look around at all the weights and switch over into a body-builder mindset.
The way to get the best results from your gym routine is to train like an athlete by doing compound exercises.
Trail running is an activity that engages multiple muscle groups at the same time. By doing compound exercises you will not only train a targeted muscle group, but you will also engage multiple other muscle groups as stabilization. This is especially for your core. A strong core is vital for trail running but it is an area that is not heavily worked while you trail run.
What Are The Gym Exercises That Almost No Trail Runner Does?
When I started putting together my list of compound exercises I thought about one of my frustrations when in a busy gym. I have my pre-planned workout that is structured to hit certain exercise intensities at specific parts of the workout. Then I get to the gym and it feels like every piece of equipment is occupied at the exact moment that I want to use it. That means minutes and minutes of standing around instead of stacking up cumulative fatigue.
With that in mind, I chose to look at the pieces of equipment that least used in the gym. That way you are likely to have at least one of them completely to yourself for your whole workout.
Landmine / Planted Barbell (3 sets of 12 to 15 reps)
The Landmine is easily the most neglected piece of equipment in the gym. No matter how crowded the gym has been I think there have only been two occasions in the last year when the Landmine has been occupied when I was wanting to use it.
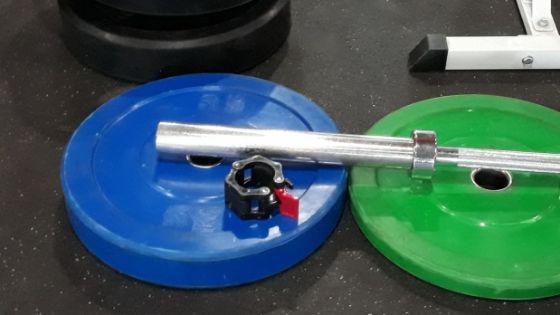
If you are unlucky to have one of those rare instances when the Landmine is occupied, or your gym doesn’t have one, then plant the end of an Olympic barbell into a corner. If your gym has walls or skirtings that can get easily damaged then lie a large Olympic weight plate flat on the floor wedged into a corner. Then “hook” the end of an Olympic barbell into the center hole of the weight plate at an angle and you will be good to go.
Landmine Oblique Press (Core + Quads, Hamstrings, Glutes, Deltoids, Triceps)
Same foot forward as the pressing hand, the forward foot is in line with the bar. The pressing hand is against the weight while the other hand stacks above. Starting position is with both hips and shoulders square to the bar. The force of the press comes from the back leg, rotating hips and shoulders so that at the end of the press shoulders are parallel to the bar and hips are almost parallel as well.
Landmine Chest Press (Upper, Middle, Lower Chest + Core and Quads)
Start with feet a little bit wider than shoulder-width apart. Keep your knees nice and soft and keep your core tight. With this exercise, you don’t want to stand right up against the end of the bar. You need to back up about half a step to a step. You need to do this to ensure a full range of motion and will help you better target your chest because of your forward-leaning angle.
You are going to be working upper, mid and lower chest. The mid-chest is the area that will be carrying the most weight. However, your upper legs and core will be creating the stability that will allow you to maintain good form.
Landmine Single Arm Chest Press (Upper Chest + Front Deltoid, Obliques)
Use a staggered stance of placing the opposite foot forward to the arm you are pressing with. Using a staggered stance will help with balance and stability.
When you are pushing the weight on one side you need a bit more of a stable base to do that.
This is going to primarily work the outer part of the upper chest together with some of the front deltoid. When these muscles fatigue during a trail run it leads to the break down of your upper body running form and tends to restrict your ability to fully fill your lungs on each breath.
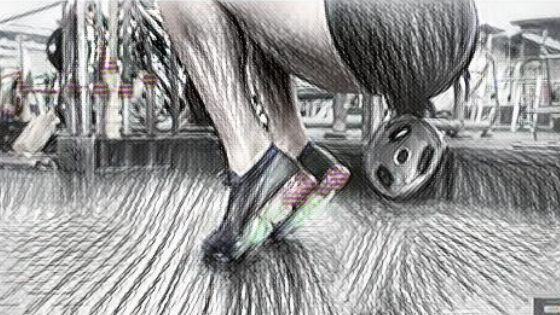
Landmine Calf Raises (Achilles, Calf, Soleus + Core, glutes)
Holding the bar as you would for the LM chest press. Raise and lower your heels to work your calf muscles. Because these are essentially half reps compared to what you would do on a step make sure that your foot has as little contact time with the floor as possible.
Also, include the calf raise exercise with slightly bent knees to work the Soleus muscle.
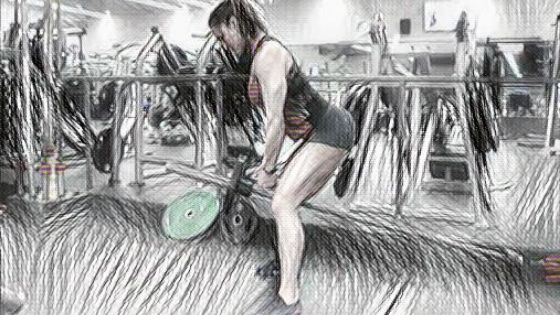
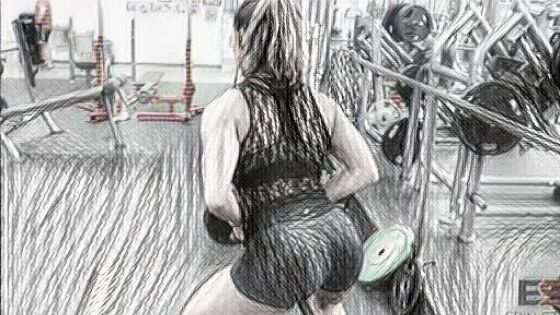
Landmine Squats (Glutes, Hamstrings, Quads + core, Erector Spinae)
Landmine Squats are great for reducing spinal pressure compared to traditional barbell squats. If you have bad knees and/or a bad back this should be your go-to exercise to start incorporating squats into your routine so that you can get stronger. That way your stronger muscles can support your areas of weakness.
Set your feet to just wider than shoulder-width apart. Squat down till your upper legs are parallel to the ground or slightly lower if you are able. Keep your elbows tucked against your torso under the weight of the bar. The position of the bar against you is great for keeping your upper body tall and encourage good form through the entire squat.
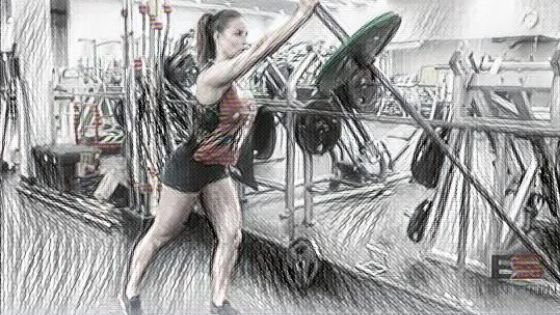
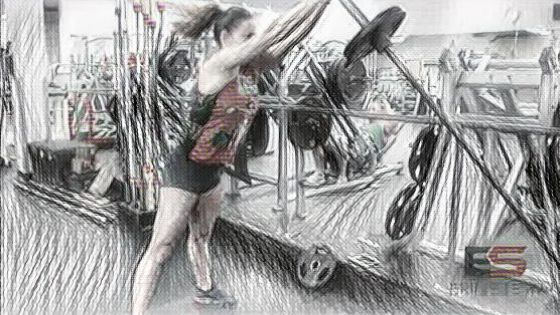
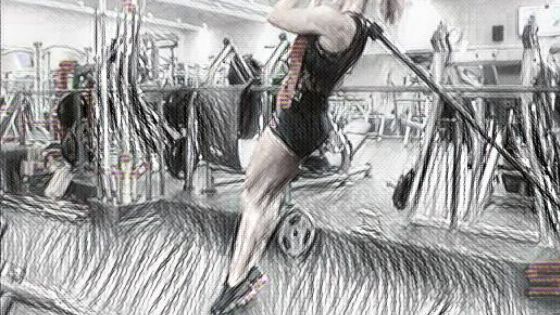
Landmine Thruster (Whole Body + Cardio)
This is a great exercise to use as a finisher or as a warmup because it incorporates the whole body. If you are super pressed for time you can do just this one exercise first stacking the weights gradually heavier up to your maximum, and then back down again. There is also an element of cardio in the move as well.
Start with your feet slightly wider than shoulder-width apart. Squat down, aiming for your upper legs to be parallel to the ground. This takes a little practice so don’t be too worried if you don’t get low enough when you are just starting out.
As you hit your low point in the squat, immediately explode up, using that momentum to push the bar up and out at the same time. Keep your elbows under the bar or else you will lose most of the power from your leg movement as your elbows chicken wing to the sides. When your elbows chicken wing it places both your shoulders and your elbows at risk of injury.
Keep your core tight and your back flat. I pay particular attention to my back. When I feel my hips move forward and my back start to arch, I know that it is time to call an end to that set. Usually, on one of the sets, I will push up onto my toes at the top of the press. This will bring my Achilles/Soleus/Calf into the exercise as well.
Landmine Lunge (Glutes, Quads, Hamstrings, Calf + Hip Flexor, Transverse Abdominus)
Start by standing over the bar with your ankles in line with the weight plate. Step back with 1 foot into a lunge position. I always start with my non-dominant leg to the front. That way if I max out before I get to my target number of reps I can match that with my dominant leg without creating any imbalances.
In my staggered stance, I have my feet slightly wider than shoulder-width apart. That is because I have disproportionately long legs. When starting out, place your feet at shoulder-width apart in the stagger and adjust from there based on your balance.
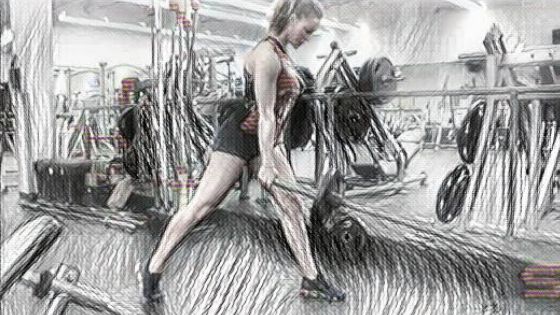
Pick up the bar 1 handed near the end. Use your other hand on your knee for the initial lift from the floor, but hand to the side or behind your back for the lifting reps. Stay nice and tall with the upper body so that you are able to transfer the load to your legs.
While doing your lunges keep in mind that your back leg is just for balance and your front leg is doing the work.
Return to standing with your ankles in line with the plate before switching sides.
Landmine Hack Squat (Glutes, Hamstrings, Quads + core, Achilles, Calf, Soleus)
My gym, like so many others, does not have a sissy squat machine. The reason is simple. It is a very specialized piece of equipment that is very seldom used by the general public of gym patrons. Small gyms simply don’t have the floor space for a machine that will remain unused. The Landmine is the perfect substitute as it can be used for a host of different upper and lower body exercises and takes up almost no space.
This is the squat where you turn around and face away from the bar. Place the bar on your right shoulder, left hand cupping the end of the bar to prevent hands slipping. Shuffle feet forward so you can lean back. When you can feel the back of your shoulder lightly touching the plate your position is fine.
Do half the set of squats with flat feet and the second half up on your toes. Eventually, progress to the point where you can do the whole set up on your toes so that you can get the maximum benefit for your Soleus.
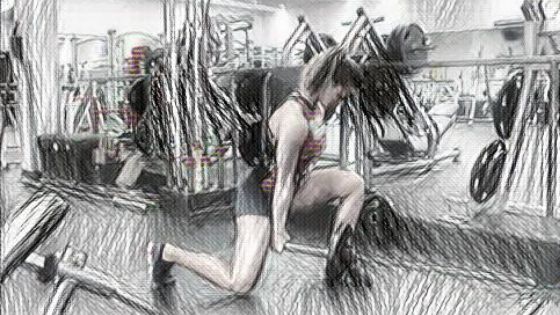
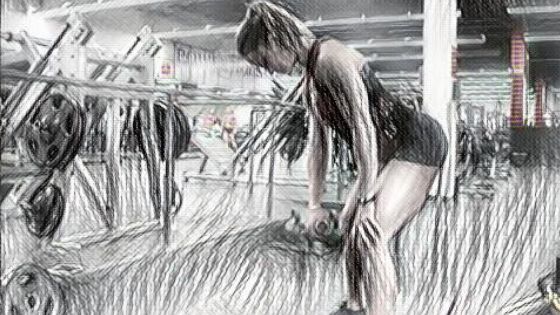
Landmine Dead Lift (Glutes, Quads, Hamstrings, Adductors + Trapezius, Transverse Abdominus, Erector Spinae)
Stand over the bar with the tip of the level with around mid-foot. Place feet wider than shoulder-width apart. Hold the bar with your interlocked hands cupped under the bar near the end and keeping your arms straight. Your toes should be pointed slightly out, but only a tiny bit.

Though the deadlift and lower keep your back straight (feeling tall) and your arms straight the entire time.
Start the lift by pressing down through your heels. The first part of the deadlift involves straightening your knees until your hands have passed knee height. The second part of the lift activates the glutes as you pull your hips forward while straightening up.
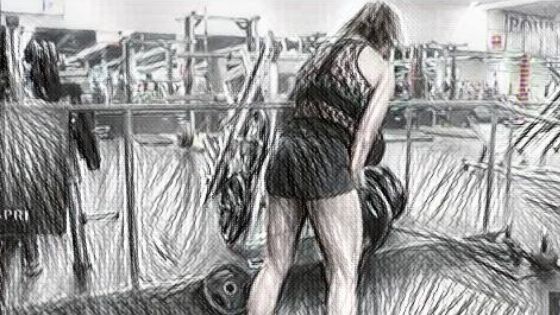
Lowering the bar is the same but in reverse. Begin by moving your hips back to lower the bar. As the bar drops below your knees start bending your knees to finish the lowering. If you are able to keep your back straight and start from a point where your back is below parallel you will recruit even more of your glutes. However, keeping your back straight is more important to avoid back injuries.
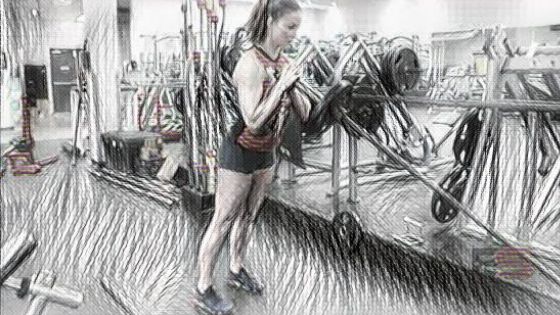
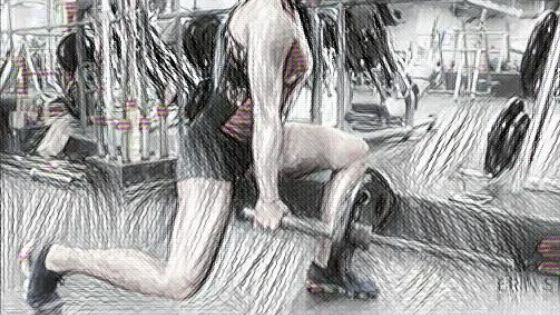
Landmine T-Bar Row (Lats, Lower Trapezius + Transverse Abdominus, Erector Spinae)
Straddle the bar, facing out and behind the plate. With knees slightly bent, bend forward from the hips. Either grasp the bar with both hands or use the “double D” cable attachment hooked under the bar. Hold the upper body at an angle of about forty-five degrees.
The row itself brings your hands up to just below your chest remembering the pull your shoulder blades together and maintain a tight core. Picture your hands, wrists, and forearms as being part of the weight. Pull from the elbows.
The action of driving back from the elbows is important because that is where your focus should be when running up hills. It will get you to the top of the hill faster.
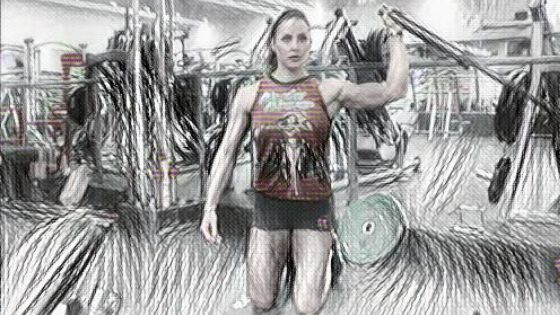
Landmine Kneeling Shoulder Press (Deltoids + Core)
I have seen people doing this exercise standing. However, that creates the temptation to do a kind of hip/body throw to create momentum at the start of the press. This puts undue lateral stress on the lower back. Switching to a kneeling position solves that problem. It also puts your body lower on the arc of the bar, keeping more weight on your shoulder through the full range of the exercise.
Your starting position is where the end of the bar is level with your ear and wide enough to the side to be just inside your elbow. The neutral grip is ideal to hit your side deltoids harder than the front and rear deltoids. Remember that the side deltoid is smaller and usually weaker than the front and rear deltoids. Therefore, don’t load the bar very much at all to start with.
When you lower the bar from each press, do so under control so that your elbow does not go behind shoulder level.
Landmine Kneeling Narrow to wide shoulder press (Side Deltoids + Transverse Abdominus)
Kneel side on to the bar so that your shoulders are in line with the bar at a distance from the bar so that when you hold the bar your elbow is at shoulder height and your forearm can be vertical. Adjust your body position so that the bar is in line with your ear. Keep your elbow vertically below the bar at all times. This will keep strain off your elbow, wrist and rotator cuff.
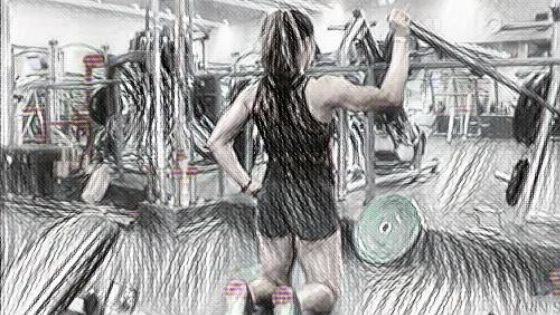
As you press your hand follows the arc of the bar so that you finish with your hand wider from your body. Control the return to the start position so that your elbow does not dip below shoulder height.
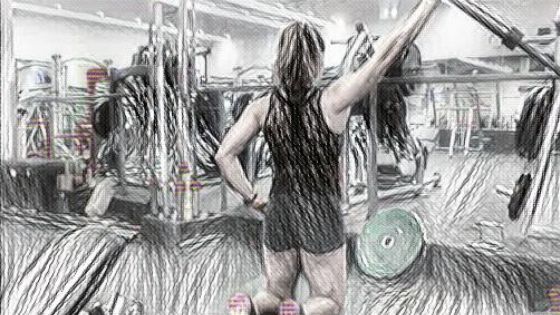
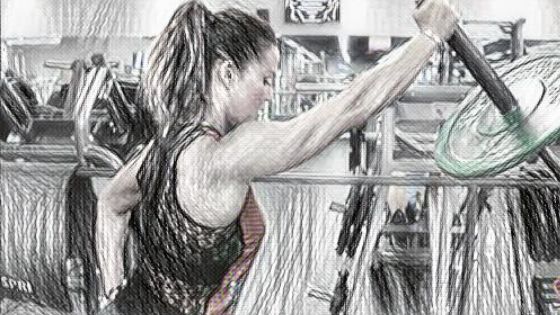
Landmine Kneeling One Arm Upright Row (Upper Trapezius, Levator Scapulae, Teres Minor + Transverse Abdominus, Erector Spinae)
Start from the same position as the LM Kneeling Narrow to Wide Shoulder Press, except this time the bar end hangs down from a straight arm in front of your belly. When you do the row, keep your forearm vertically aligned with the bar and your wrist neutral (not flexed).
Picture your hand, wrist, and forearm being part of the bar and you are pulling up from your elbow. If you try to pull the bar up too high you will be using your shoulder and lose the effectiveness of the exercise. It is OK if the range of movement is small. The moment you get the position right you will feel the exercise isolate your upper trapezius near your neck.
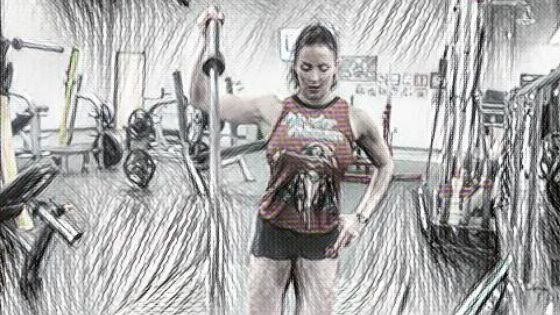
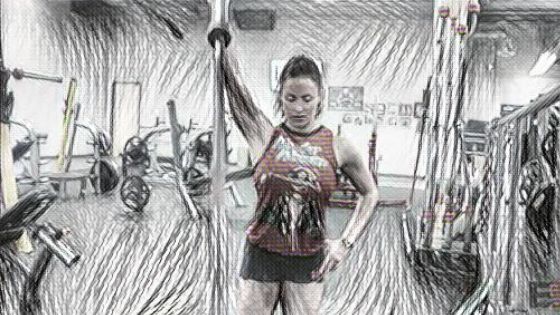
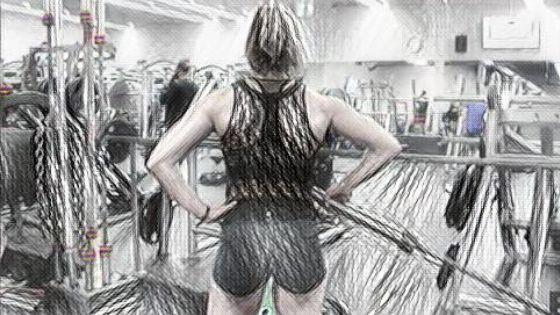
Landmine Standing One Arm Upright Row (Deltoids, Levator Scapulae, Teres Minor + Transverse Abdominus, Erector Spinae)

This is a great variation to the upright row because the arc of the bar forces a narrow to wide movement. As a unilateral exercise, it allows you to even out any weakness that you may have on one side of your body.
The body position of doing this exercise is almost identical to the LM Kneeling One Arm Upright Row except that you are standing instead of kneeling. However, because you are standing this exercise will target more of your deltoids and less of your trapezius muscles that were the focus of the kneeling version.
When you swap sides be careful to set up a stance that is a mirror image of what you have just done. Always start with your weaker side so that if you cannot complete a full set of repetitions you can match that reduced number of repetitions on your stronger side.
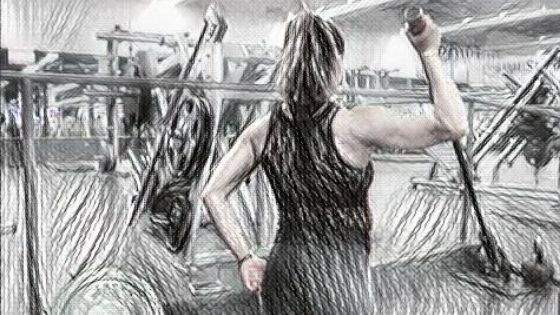
Landmine Meadows Row (Rear Deltoids, Teres Minor + Transverse Abdominus)
The LM Meadows row is a progression from the LM Standing One Arm Upright Row that we have just covered but is designed to target the rear Deltoid muscle (back of your shoulder). From your LM Standing One Arm Upright Row stance, bend your knees a bit and flex forward from your hips till you are standing in a similar way to your stance for the LM T-Bar Row.
Brace your non-active hand on your knee to prevent yourself from tipping over forward. The row motion is again pulling back from your elbow with your hand, wrist, and forearm being “part of the bar.”
Standing Cable Exercises for Abdominals (3 sets of 15 building to 3 sets of 20)
There is no denying that doing planks in all their various forms are hugely effective at working your core. If you want confirmation of that, then take a brief moment and do the Bring Sally Up plank challenge. It is something I often do to round out a workout.
The abdominal exercises listed in this section are not meant as an alternative to doing planks and stability ball exercises. Rather, they should be done in addition to your existing core workout. What I love about cable exercises is that they maintain even tension on the muscles across the entire range of motion. The abdominal exercises listed here load your core in a similar way to what happens while you trail run.
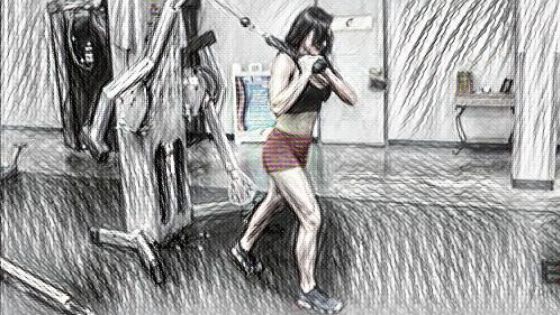
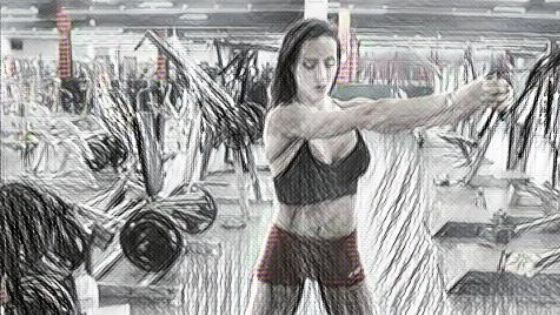
Cable Palloff Press (Transverse Abdominus, Obliques + Chest, Front Deltoid, Triceps, Adductors, Gluteus Medius)
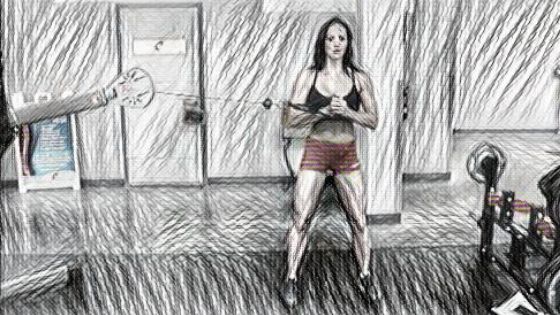
Set the cable to about chest height. Stand side-on to the cable. Use an overhand grip in a D-ring attachment. Hold with the hand nearest the cable and cup the other hand over the top.
You are going to be doing most of the pushing with the arm that is closest to the cable. Pressing straight out in front of you and back means that you will need to stabilize against the cable with your core. Even your legs and glutes help with the stabilization.
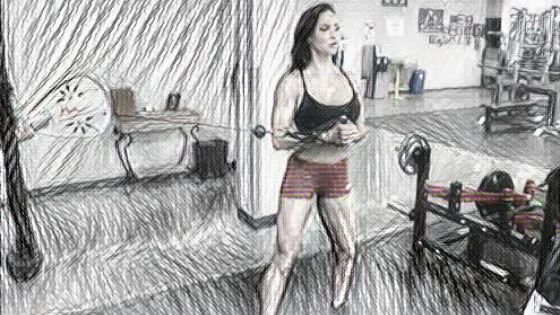
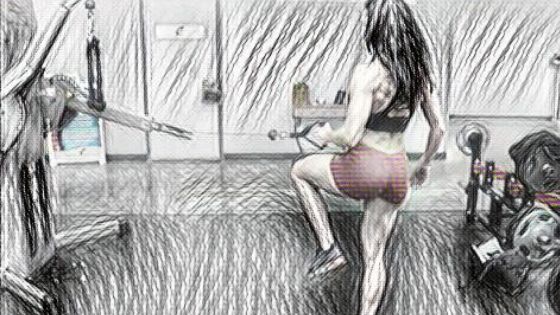
Standing Cable Knee Raise (Rectus Abdominus, Hip Flexors + Obliques, Quads, Achilles, Soleus)
Use the D-ring attachment and set the cable to the lowest setting. Facing away from the cable, hook your foot into the D-ring. Stabilize your body in balance. I start with either both arms in front of me or slightly to the side for the first couple of repetitions.
Create a solid base with the other leg – a slight knee bend helps with this. Focus on driving your knee up and forward, pulling against the resistance of the cable.
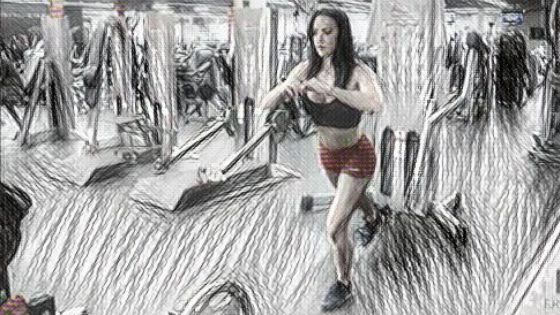
After the first couple of repetitions, as my balance improves, I start to move my arms to mimic the running motion. I find that this works my abdominals even better as it accentuates the forward leg-drive.
Bell Tower Crunch (Rectus Abdominus, Obliques + Transverse Abdominus)
This is a variation to the fairly common rope crunch. What is great about this is that the weight throws you off balance and you need to activate your core even more to maintain stability.
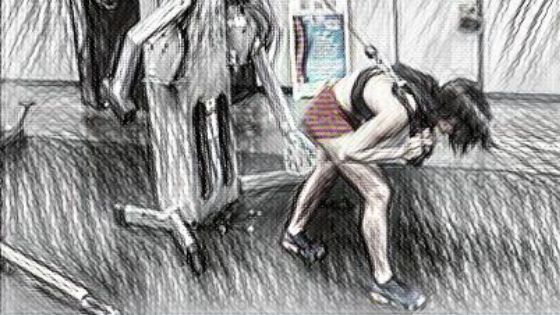
Cables with rope attachment over right shoulder and pull toward right knee standing in a right foot forward staggered/lunge stance. Then swap over to left shoulder/leg.
Because this is a crunch, be sure to bend your upper body into a “C” shape at the bottom of the crunch. This will ensure that you maintain tension on your abdominal muscles. The same movement with a flat back will transfer the load away from your abdominals and all onto your hip flexors.
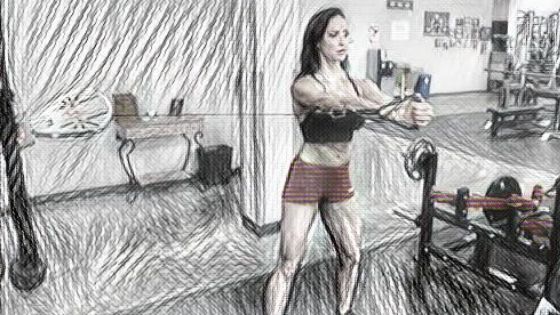
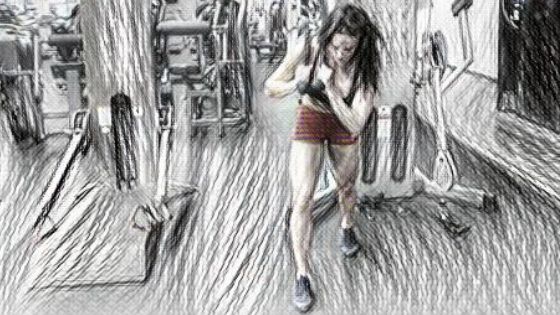
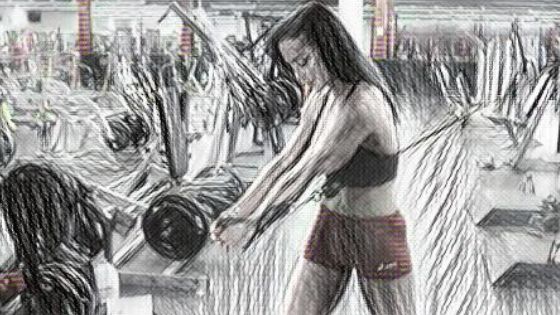
Wood Choppers (Obliques, Transverse Abdominus + Deltoids, Teres Major, Teres Minor, Glutes)
Set the cable to above head height. Stand with feet a little wider than shoulder-width apart and in line with the cable.
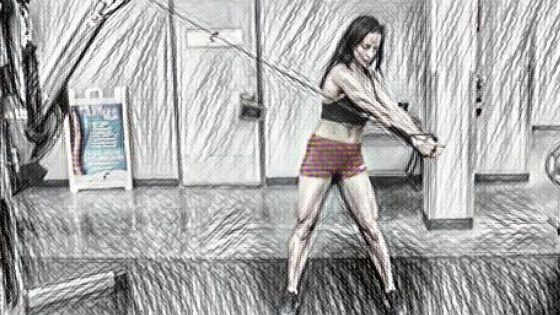
Pull from high down to hip level. Hold the D-ring cable attachment with the hand nearest the cable and cup the other hand over. The arm closest to the cable does all the pulling while the other arm stabilizes.
Focus on keeping your arms straight to eliminate the use of arms and shoulders. Don’t forget to also set the cable at the lowest and do sets of the low to high version as well. I find the low to high version especially tough when I do them immediately after the high to low version as a super-set.
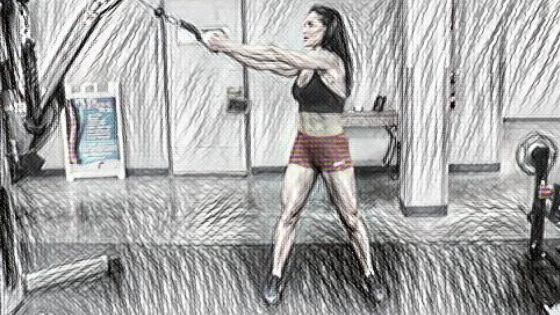
Flamingo Pull (Obliques, Rectus Abdominus, Transverse Abdominus + Deltoids, Teres Major, Teres Minor, Glutes, Hip Flexors)
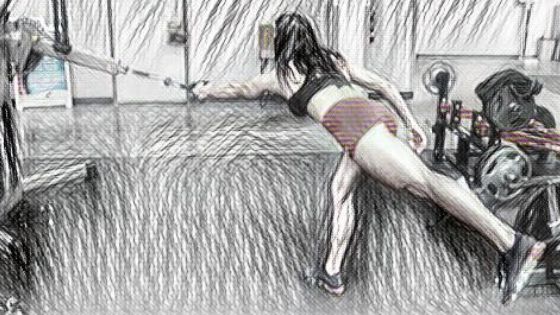
Set up the cable machine so that the cable extends at hip height. This can be quite tricky, balance-wise until you get it right. You are going to pull with the same arm and driving that same side leg.
As you pull, almost like doing a row, you are going to simultaneously drive your knee forward and up. The thing to think about while doing the exercise is to keep your hips parallel to the ground. Don’t allow your hips to tilt.
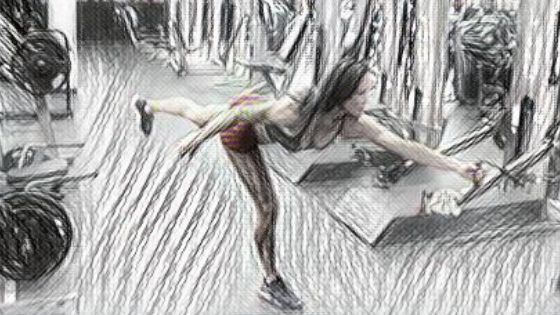
As you fatigue your body will tend to rotate your hips so that the hip of your working leg is higher than the hip of the resting leg. It takes focus to stop this from happening as it not only makes the exercise less effective but it also places uneven strain on the Psoas muscle. I find that by holding my core tight I can limit the amount of hip lift that I have.
Standing Cable exercises for Glutes, Hamstrings, and Quads (3 sets of 12 to 15 with 30sec rest between sets)
The biggest improvement that I noticed after doing these cable leg exercises is that my uphill running improved a lot. For me, it was not so much in terms of increased speed, but rather I was able to hold my normal speed for a lot longer without getting tired and losing form.
As regards the leg exercises in this cable section there is one important point to note. It is generally not a good idea to do leg presses prior to doing these exercises. The traditional leg press places a heavy load on your hip flexors that you will be needing to maintain stability and balance.
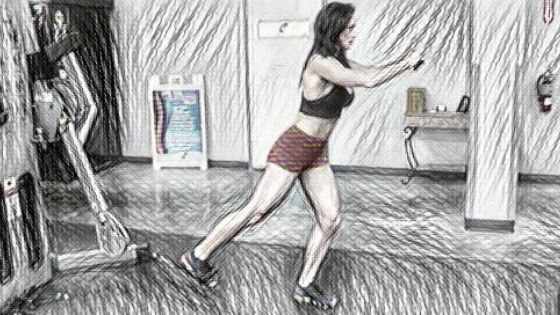
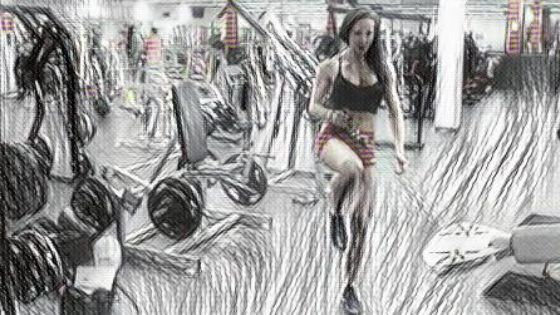
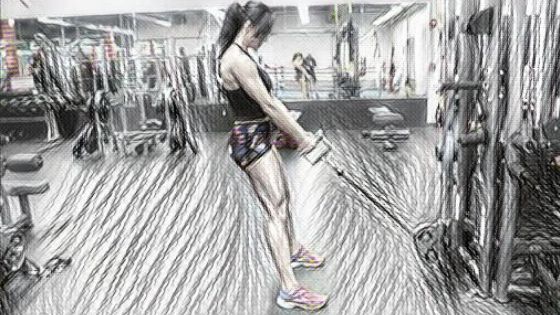
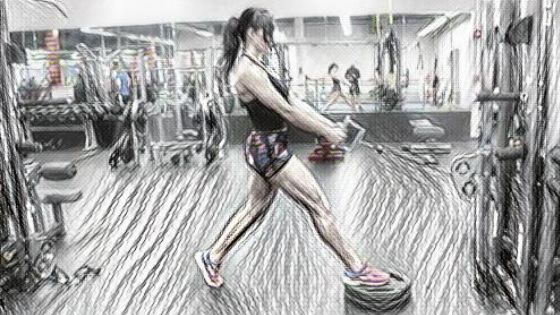
Reverse Lunges (Glutes, Hamstrings, Quads + Calf, Soleus, Transverse Abdominus)
For reverse lunges load the cable machine fairly light. The goal of the weight is mainly to counter-balance your lunge so that you can protect your knees. You can go heavier if you feel yourself tipping over too much.
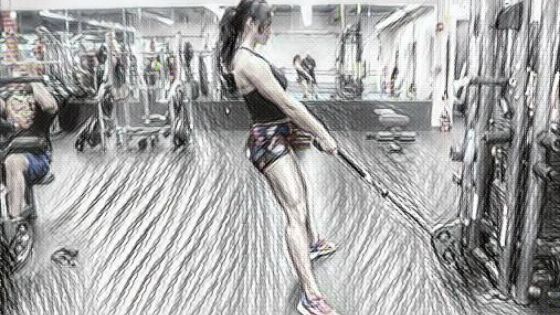
Set the cable height to three or four notches above the lowest setting so that the cable extends at knee height. Use the straight bar attachment and grip with an overhand grip and straight arms. The idea is that as you lunge back you push your weight through your heels, pulling the cable with you.
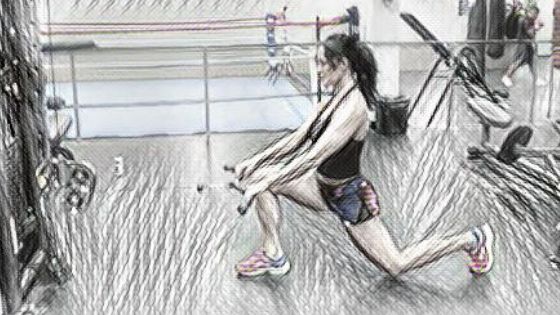
That pulling motion against the resistance of the cable causes extra activation of your glutes and hamstrings. The backward push also helps keep your knee behind your toe so that strain that would have previously gone into your knee is now held by your quads.
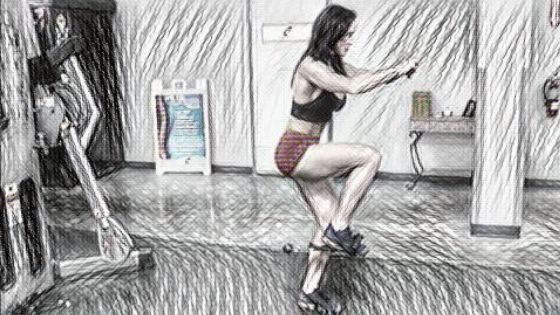
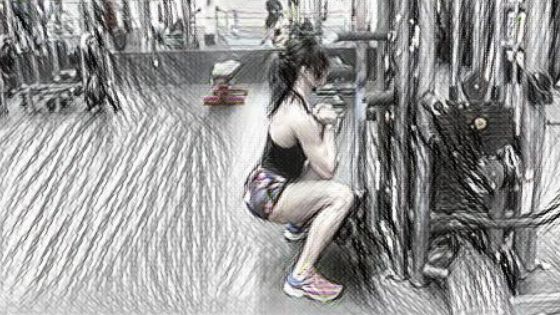
Cable Squats (Glutes, Hamstrings, Quads + Transverse Abdominus, Erector Spinae)
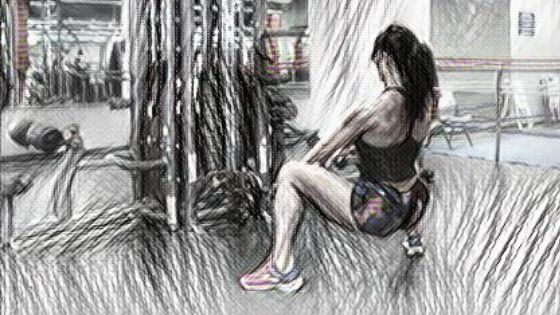
This is the first of the heavy exercises in this group. Use the straight bar attachment, with the cable set to the lowest setting. Some people use an overhand grip, but I find an underhand grip feels better on my shoulder joints. Just be sure to keep your arms straight or else this will turn into a very awkward bicep exercise.
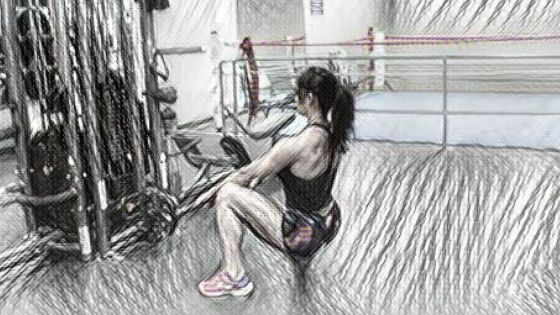
This differs from the traditional squat in that you are counter-balancing against the weight on the cable. Your body movement coming out of the squat is coming up and back at the same time.
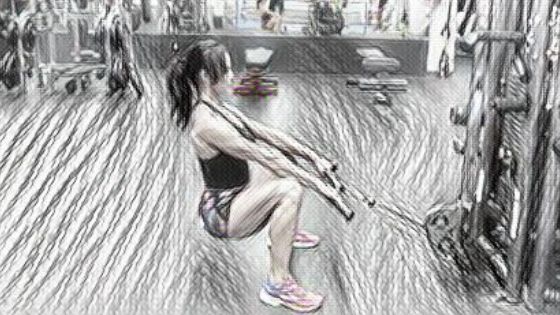
Place your feet around one and a half times shoulder-width apart with your toes slightly turned out. As you squat down and up, ensure that your thighs and knees keep pointing in the same direction as your toes.
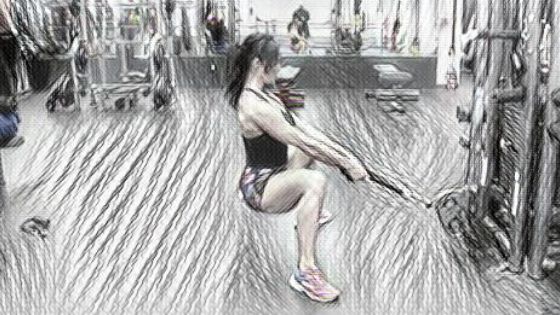
Goblet Squats (Glutes, Hamstrings, Quads + Trapezius, Deltoids, Biceps)
Use the double-D attachment and set the cable to the lowest setting. Using the double-D will allow you to brace against the weight with your upper body. It is going to allow you to get your elbows under the handle, keeping your shoulders, elbows, and wrists neutral. This takes a lot of the tension away from the upper body and will allow you to focus on just moving the weight with your legs.
As with any other squat, you are going to push the weight through your heels. Keep your upper body tall and straight so that your lower back bears none of the weight. This will hit glutes, hamstrings, and quads. Keep your shoulders a bit back so that you can brace against the cable and do all of the work with your legs.

End the set at the bottom of the squat where the cable has the least distance to travel. Allow your elbows to come out and rotate your hands around the handles so that the backs of your hands face each other as the weight settles onto the stack.
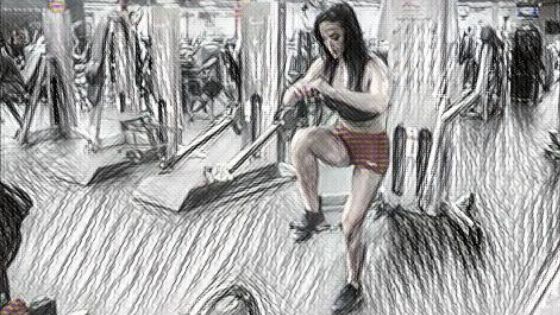
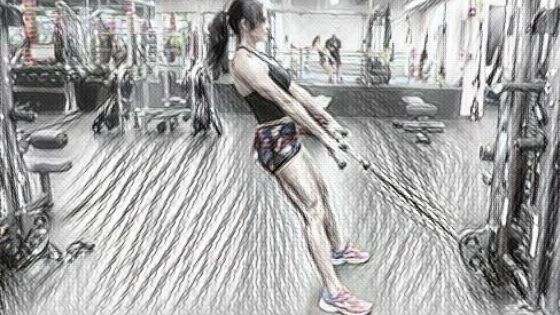
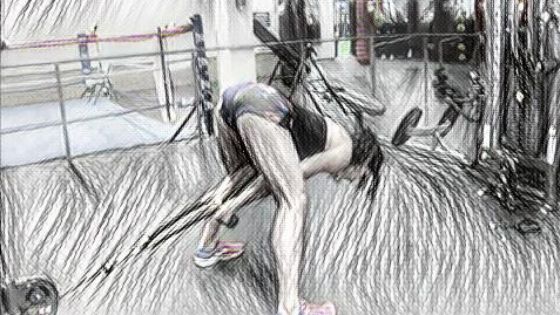
Romanian Dead Lifts (Glutes, Hamstrings, Quads + Adductors, Soleus, Erector Spinae)
Use the double-D cable attachment and set the cable to the lowest setting. Place your feet a little wider than shoulder-width apart. Make sure that you keep your back nice and flat.
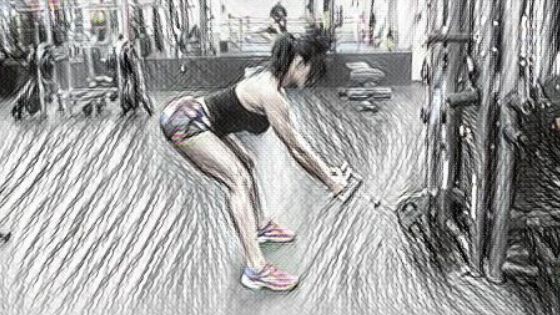
As you lower yourself down with straight arms think of pushing your hips back. Then push your hips forward to drive the lift back up. Lock your core tight so that your upper body does nothing more than brace and stabilize.
You should not be pulling at all with your arms or back. All of the force comes through that hip hinge. If you are doing this right you will feel this in your hamstrings and your glutes. For me what really burns is that spot that I call the glute/hamstring connection point. I know that the point does not exist in terms of a specific muscle, but it best describes where I feel it the most.
Like with the other exercises, lean back slightly so that you can brace against the weight. Finally, because the Goblet Squat and the Romanian Deadlift use the same attachment, cable height, and weight, they can be done together as a superset.
Sumo Squat (Glutes, Hamstrings, Quads, Calf muscles + Adductors, Soleus, Erector Spinae)
Set the cable to the lowest setting. If you are doing the sumo squat as a single exercise, then use the bar-attachment to the cable. However, if you choose to do this as a superset with the Pull-Through, then use the same rope-attachment that you will need for the pull through.
With the Sumo Squat turn your toes out and make sure that your knees move in the same direction that your toes are pointing. Like with the cable squat earlier lean back and brace against the weight on the cable with straight arms.
You will notice that the weight is set lighter for the Sumo Squat than for the Cable Squat earlier. There are two reasons for that. The first is that there will be some residual metabolic fatigue from the Cable Squats and the other is to leave a little in the tank for the Front Foot Elevated Split Squats coming later.
Pull-Through (Glutes, Hamstrings + Erector Spinae, Lats)
Use the rope attachment and set the cable on the lowest setting. Step over the ropes and shuffle forward to set up for your Pull-Through set.
The body movement for the Pull-Through is similar to that of the Romanian Deadlift you did earlier. The difference between the two is that you were leaning back for the Romanian Deadlift, and now, you are leaning forward for the Pull Through.
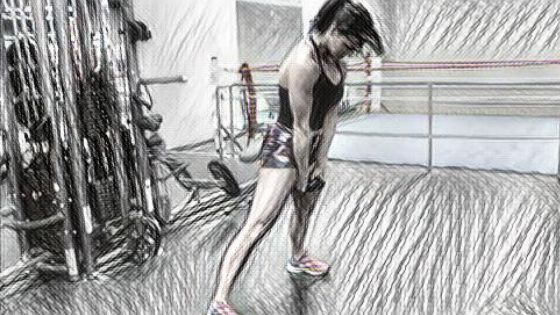
This places a different angle of tension onto your glutes so you will feel it higher up the glute muscle. The most important is that you keep your back flat and your arms straight.
When you get good at these you can tuck your chin to your chest right at the top of the pull-through which somehow adds a little extra tension to your glute muscles.
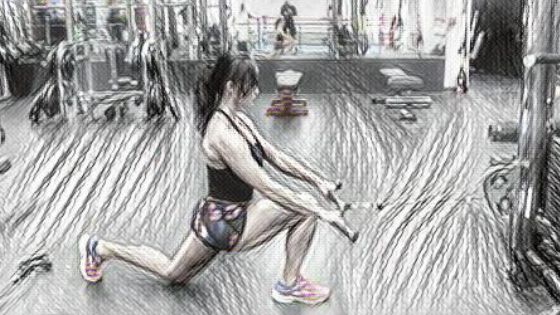
Front Foot Elevated Split Squat (Glutes, Hamstrings + Adductors, Transverse Abdominus)
Set the step (or rubberized weight plate) down around half a meter or a little more away from the cable. Use the double-D cable attachment with the cable around hip height or slightly lower.
The elevated front foot allows your front thigh to drop down below horizontal placing, even more, load on the glutes.
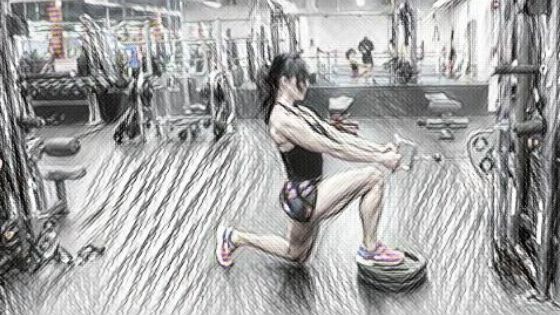
Push through your heel as you lift. Lean your upper body slightly back so that you can brace against the cable with a straight back, straight arms, and tight core.
Start with your non-dominant leg forward. Even though the goal is to do 12 reps on each leg, if you can only manage 9 reps on your non-dominant leg then you can match 9 reps on your dominant leg. That way you can keep the training equal on both sides of your body.
When you switch sides be vigilant that you take up a position that is a mirror image of what you have just done so that you can get a perfectly symmetric range of motion on both sides. Unilateral exercises work best if you do them evenly on both sides.
You know that you have the weight just right when the last two or three reps on each side are challenging but still doable.
Single-Leg Calf Raise (Gastrocnemius, Soleus + Tibialis Anterior)
What I do is combine a set of Single-Leg Calf Raisers with the Front Foot Elevated Split Squat as a superset. This is just the straight foot calf raise and not including any out-turned-toes or inward-turned-toes variations.
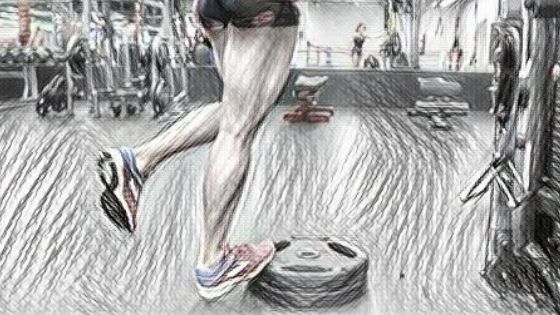
Use the same step for the calf raise as you have just used for the Front Foot Elevated Split Squat.
Besides working your calf muscles it also acts as a partial stretch for the hamstring ahead of the next set. Again, start the set with your non-dominant leg so that you can match your dominant leg to the same number of repetitions.